You know that old saying "Measure twice, cut once"? Yeah . . .
So the thing about putting door handles on is that you not only need to measure to get the handles in the right spot, you need to be sure that the door handle is on the correct corner of the door. So, measure all you like, but if you need to put the handle on the top right of the door, but you put it on the bottom right of the door, you are kind of up a creek without a paddle.
But not all is lost! I know what you're thinking. "HOW COULD YOU!?!!? AFTER ALL THAT WORK?!?!?!?" It's sort of a "can't see the forest for the trees" situation.
Whatevs. The way I look at it, this is just another opportunity to learn something and ultimately improve the doors in the process. So let's meet my co-stars.
Hello, wood filler. So, the only thing that really happened is that the doors now have some extra holes. Sort of like a wood vampire got into the house and attacked the door. (How would you kill a wood vampire? A person stake?) So, we need to fill the holes. To do this, a little bit of dowel to bridge the gap and some stainable wood filler to finish it off.
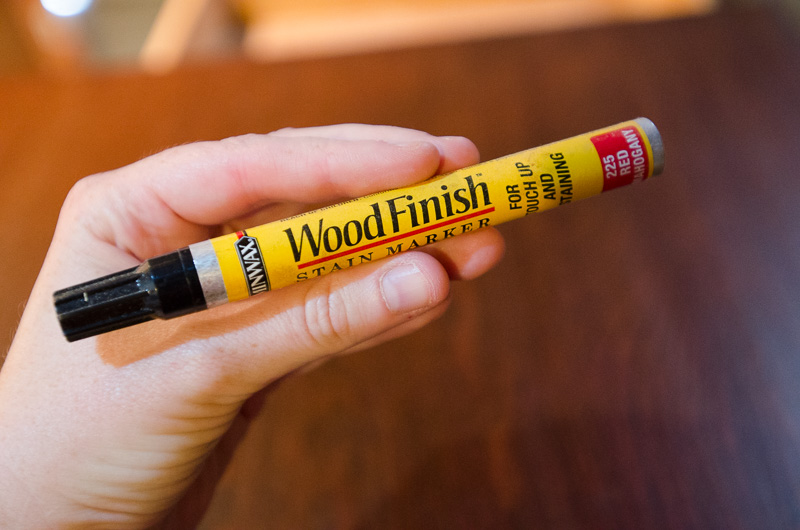
This is one of my favorite things. It is a stain pen. You use it in small places where there is just a little exposed wood that needs to be stained. (Like when I left that cotton ball on the coffee table that had nail polish remover on it . . . yeah.) It kind of looks like a highlighter when you use it. But it is
so convenient and very helpful.
See? Wood vampire. Okay, so the dowel is in and the wood filler applied.
Once they dried, I
sanded the surface to remove the excess wood filler (around the edge)
and prep the wood surface as much as possible.
Handy, dandy tack cloth to take off the additional dust before the application of the new stain.
The same as standard staining, I covered the whole area with the pen and let it sit for a minute before I wiped it off with a clean cloth. This is because I want to be sure that I blend in the stain to match the stained door underneath.
Use the pen again to hit the vampire holes because they have more depth than the rest of the wood filler that is resting on top of the door. I did this a couple of times to get a nice, rich color on the wood filler. Since it isn't the same wood, it doesn't take the stain in the same way, so this is a matter of trial and error.
I will do a couple more passes, but I think it actually looks fine. I faked the grain lines over where the wood filler was still on the surrounding door area and will do this same thing to the back (the holes go all the way through.) No worries, though, I bet when it's all said and done, you wouldn't be able to tell that anything had gone wrong. Life's messy. We just need to learn how to clean it up.
Besides, alls well that ends well, right? The doors are going to look like this when they are done. And I have been waiting for this for five years! What's a little extra challenge after a five year project? Fun, that's what.
But still, measure twice, cut once is a good rule of thumb. Add to that "think about functionality" and you should be fine.
Labels: Refinishing Cabinets, Remodel


1 Comments:
"How do you kill a wood vampire? A person stake?" HA HA HA HA HA!!!! Nice. :D
Post a Comment
<< Home